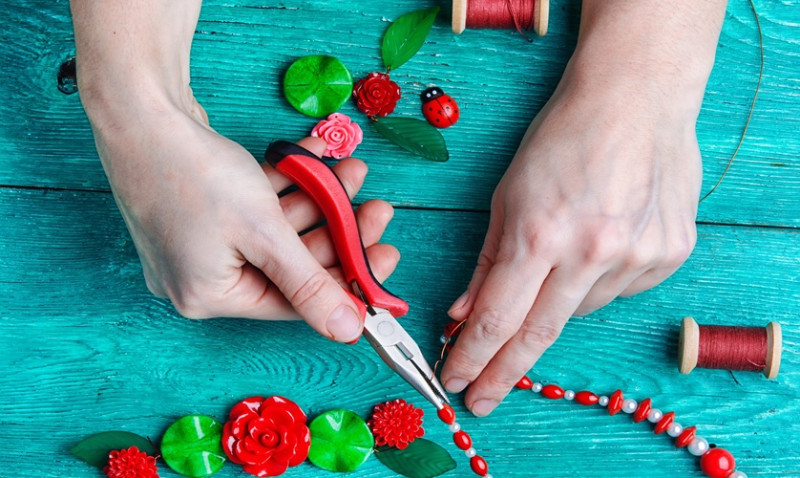
Whether you’re a passionate DIYer looking for your next creative project, a designer seeking inspiration, or a professional craftsman aiming for a unique finish, jewelry making is one craft that offers a fulfilling mix of artistry and technical skills. This guide walks you through 7 proven jewelry making tips and hacks that will help you improve your technique, work more efficiently, and produce beautifully polished results. Perfect for hobbyists, young professionals redecorating their space with wearable art, or even architects and designers looking for creative expression, these tips are tailored to make your process simpler, smarter, and more satisfying.
1. Choose Quality Materials to Elevate Your Pieces
One of the easiest ways to add instant value to your jewelry is by choosing high-quality materials. Whether you are making earrings, necklaces, or rings, starting with the right base materials will dramatically impact both the appearance and longevity of your creations.
Use sterling silver, 14k gold-filled wire, surgical steel, or brass to ensure your designs stand the test of time and resist tarnish. Natural gemstones, freshwater pearls, and quality glass or crystal beads will also upgrade the look of your finished work.
In the UK, suppliers like Cookson Gold and The Curious Gem offer a wide range of high-grade jewelry-making materials for professionals and enthusiasts alike. Always check for reputable reviews and material authenticity before purchasing.
If you can, invest in hypoallergenic findings and eco-friendly options to appeal to a more conscious consumer base, especially as sustainability becomes increasingly important to UK buyers.
2. Organise Your Workspace for Maximum Efficiency
A cluttered desk slows down productivity. Organising your jewelry-making space doesn’t just keep you sane—it also speeds up your creative process.
Use compartment boxes to store charms, beads, clasps, and findings by size and style. Pegboards with hanging tools and labelled drawers make retrieval easy and your workflow smooth and enjoyable.
Consider investing in rolling carts or stackable storage—ideal for small flats or studios common across UK urban homes. Even a simple magnetic strip along your wall can neatly hold pliers and tweezers.
Lighting also matters: a daylight LED lamp will help you avoid eye strain and see the true colour and brilliance of your materials.
3. Master the Use of Jump Rings
Jump rings are tiny but mighty components in jewelry making. Whether you’re attaching charms, pendants, or multiple links, mastering their use can make or break the integrity of your design.
Always open jump rings sideways (not apart) using two pairs of flat-nose pliers. This maintains their circular structure and ensures a snug close, preventing chains or pendants from slipping out later.
To make your work easier, pre-sort jump rings by size and thickness. You’ll spend less time fumbling and more time creating.
If working on intricate pieces, consider using a jump ring opener—a simple tool that fits over your finger and allows for fast manipulation of rings with minimal hand fatigue.
For heavy pieces, use closed or soldered jump rings. Open rings can stretch under weight, risking breakage or loss of valuable components.
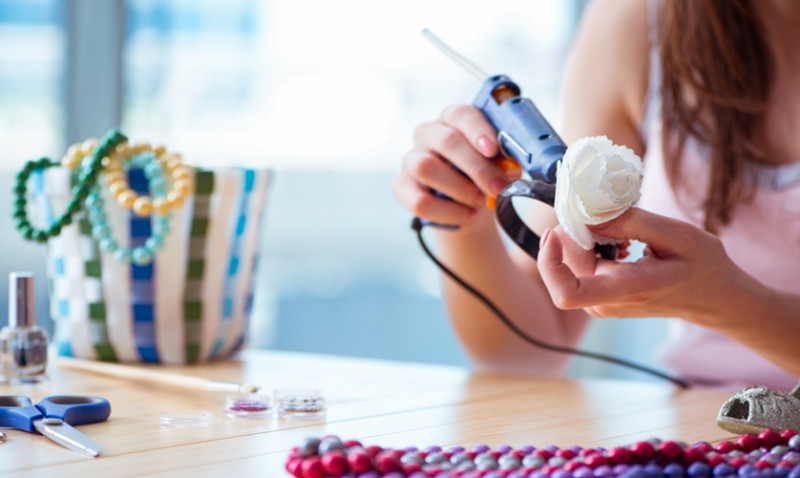
4. Use Binder Clips for Tension Control
One of the best beginner-friendly jewelry making hacks is using everyday binder clips to hold cord or wire securely in place as you work. This is particularly useful for macrame, bead stringing, wire wrapping, or braiding.
Secure one end of your project with a binder clip to your working surface or clip a cord to prevent it from moving. It acts like a third hand—one of the simplest tools that can dramatically improve your precision and comfort while working.
In UK studios where space may be limited, binder clips eliminate the need for expensive clamps or vises. Use them with a non-slip mat or easel for added stability during intricate tasks.
They also help maintain even tension throughout your piece, ensuring a uniform and professional-looking finish that customers—and admirers—will notice.
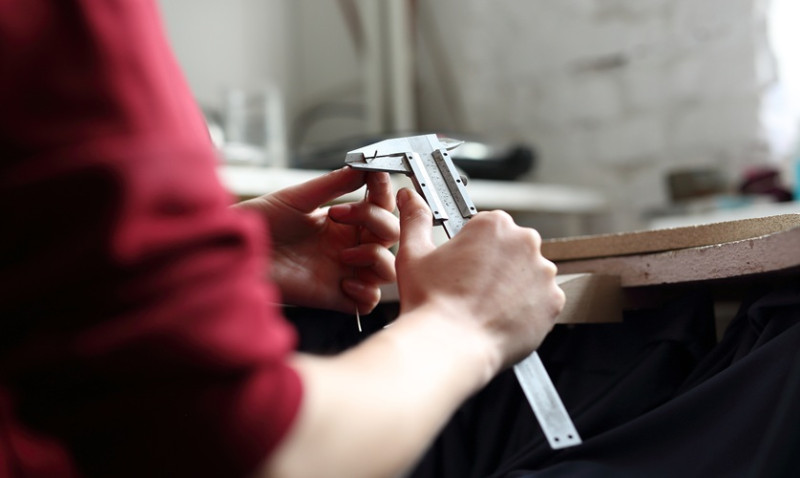
5. Don’t Skimp on Crimping Techniques
Crimping is the cornerstone of secure jewelry fastening—especially for necklaces and bracelets. Doing it wrong can result in pieces falling apart or fraying over time. But done right, and it ensures durability and a clean look.
Invest in a high-quality crimping plier—one with double notches—for perfectly crimped beads every time. Avoid using standard pliers as they flatten the beads unevenly, weakening the hold.
Always use the appropriate crimp size for your wire. The chart below can help:
| Beading Wire Size | Crimp Bead Size |
|---|---|
| 0.012 - 0.014 inch | #1 (1mm) |
| 0.015 - 0.019 inch | #2 (2mm) |
| 0.021 inch and above | #3 (3mm) |
After crimping, use crimp covers to disguise your crimps and give your work a seamless, high-end finish.
6. Use Nail File or Sandpaper to Smooth Rough Ends
Sharp wire ends can poke the skin or snag on clothes—two things you don’t want associated with your handmade pieces.
After trimming wire or headpins, quickly round off the ends with a nail file or fine-grit sandpaper. This takes only a few seconds but brings a polished, professional edge to your work.
Jewelry makers in the UK often rely on 800-1200 grit sandpaper sheets, which are readily available online or in local DIY shops such as B&Q, Screwfix, or Wickes.
For even quicker results, consider using a cup bur tool. This gadget fits onto your wire end and smooths it with a few twists, saving time during batch production or gallery-ready projects.
7. Protect Your Work with Polish and Sealants
Once your jewelry is made, don’t stop there. A finishing coat—especially for metal and patina work—goes a long way in protecting your creation from tarnish, wear, or moisture damage.
Use Renaissance Wax (a UK favourite among professionals) to seal metal and add a subtle sheen. For more durable protection, consider a spray-on jewellery protectant or clear lacquer. Make sure any coatings are skin-safe and won’t discolour stones or beads.
If you’ve used polymer clay or paint, a glaze can protect the surface and enhance vibrancy. Just test your finishes on scrap pieces to ensure no unwanted reactions occur.
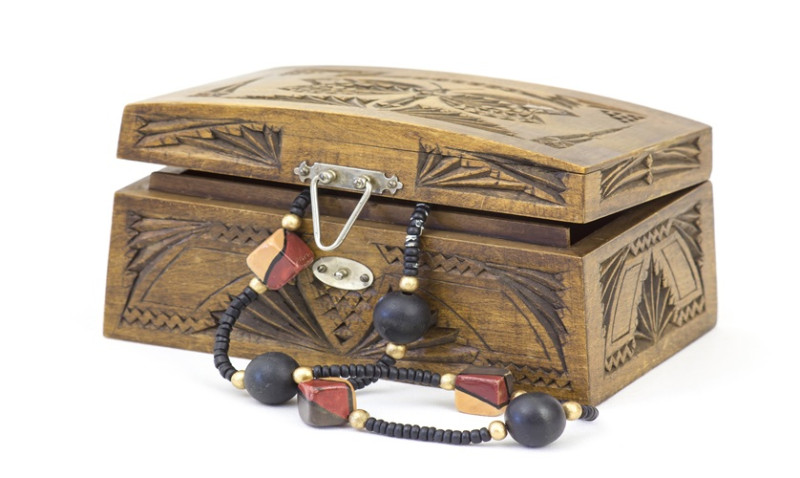
Storage also plays a role—keep finished pieces in anti-tarnish bags, boxes lined in soft cloth, or even silica packets to absorb UK humidity and extend your jewelry’s lifespan.
Final Thoughts
Whether you’re crafting a bespoke engagement piece, building your Etsy shop, or just looking for a weekend hobby with creative flair, these tips ensure you work smarter, not harder. With the right combination of quality materials, expert techniques, and handy hacks, you’ll create stunning jewelry that’s as durable as it is beautiful—and who knows, your handmade designs might just end up gracing high streets and London craft fairs alike.

Trending articles
- How to Get More Jewellery Work in Your ... Feb 2026
-
 Tips and Tricks for Jewelry Business ...
Oct 2025
Tips and Tricks for Jewelry Business ...
Oct 2025
-
 3 Tips for Using a Jeweler's Saw ...
Oct 2025
3 Tips for Using a Jeweler's Saw ...
Oct 2025
-
 Mastering Jewellery Markets: Top Tips ...
Sep 2025
Mastering Jewellery Markets: Top Tips ...
Sep 2025
-
 Jewelry Making Tips: Control Your ...
Aug 2025
Jewelry Making Tips: Control Your ...
Aug 2025
-
 Jewelry Making Tips & Hacks You Have ...
Aug 2025
Jewelry Making Tips & Hacks You Have ...
Aug 2025

Related Articles