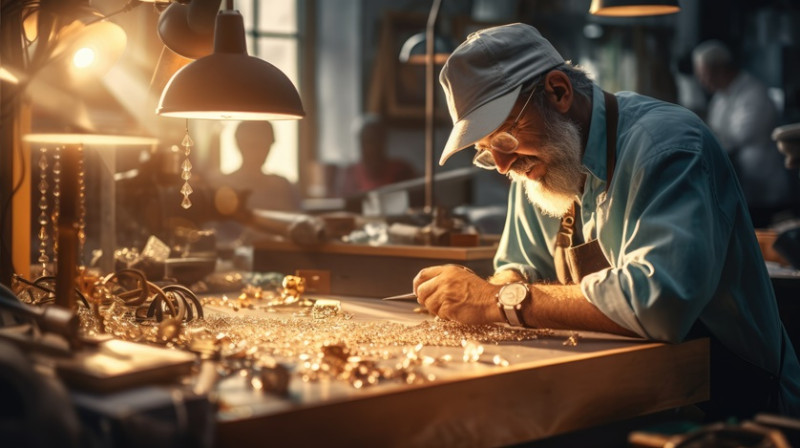
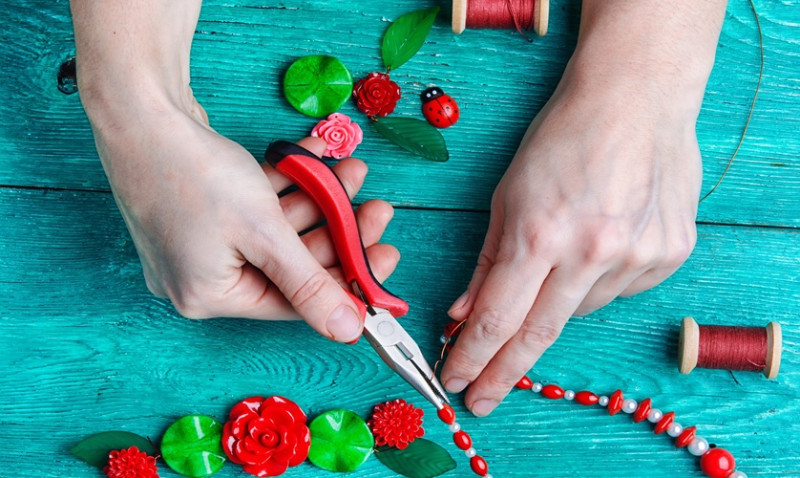
Jewelry making is not only a creative hobby, it’s also a way to express personal style and, for many, a thriving small business opportunity. Whether you're a DIY enthusiast just starting out, a professional designer, or a craftsperson looking to refine your technique, you need more than just tools and materials—you need smart hacks that save time, money, and effort.
In this post, we’ve compiled a list of 10 essential tips and clever hacks that every jewelry maker in the UK should know. Designed for makers at every level, these ideas can transform your workspace, improve your craftsmanship, and help you bring your design vision to life!
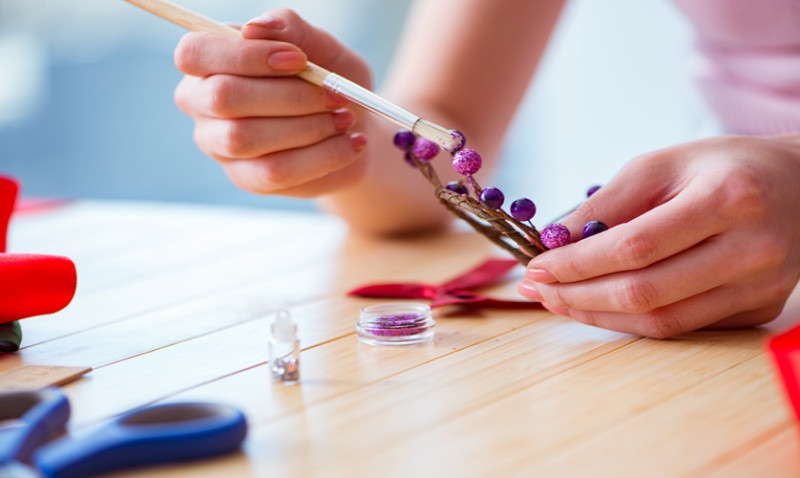
1. Use Clear Nail Polish to Prevent Tarnishing
Metals like copper and brass can tarnish over time, losing their sheen and leaving dark green residues on skin. A quick and inexpensive fix is to apply a thin coat of clear nail polish to areas of the jewelry that touch the skin.
This hack not only protects the wearer's skin from discoloration but also extends the life of your handmade pieces. It’s especially useful for budget-friendly fashion jewelry where high-end plated metals aren't used.
Simply brush a light layer on components like earring hooks, inner surfaces of rings, or bracelet clasps. Let it dry for a few hours and you’re good to go! Reapply every few months to maintain the barrier.
2. Repurpose Household Items as Tools
You don’t always have to splurge on professional tools. Many items found in a typical UK household can be creatively repurposed for jewelry making.
Need a ring mandrel to shape your rings? Use a tapered candle or lipstick tube. Struggling with kinks in your beading wire? Use a plastic credit card to straighten it out smoothly.
Even items like nail files can act as rudimentary sanding surfaces for light polishing. The key here is to think creatively and reduce waste—after all, sustainability is at the heart of many DIY movements.
3. Store Chains Tangle-Free Using Drinking Straws
Tangled chains are one of the most frustrating parts of managing jewelry supplies. To solve this, thread necklaces or chains through regular drinking straws (or reusable silicon ones) and clasp the ends.
This trick keeps them straight, untangled, and ready to use. For storage, stand them upright in a mug or lay them flat in a drawer. You’ll avoid wasting time unravelling knots and prevent damaging delicate links.
Bonus hack: label each straw with the material or length of the chain for even better organisation!
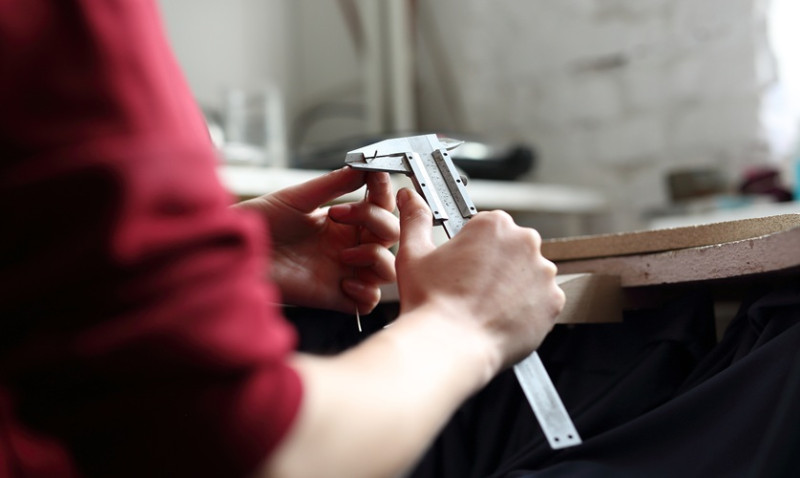
4. Always Use the Right Gauge Wire
Choosing the right wire gauge can make or break a jewelry piece. For the uninitiated, wire gauge refers to the thickness of the wire—and using one too thin or too thick can create structural or aesthetic issues.
Here’s a quick reference table to help you choose the right wire for your next project:
| Gauge (SWG) | Approx. Diameter | Best For |
|---|---|---|
| 16 - 18 | 1.2 - 1.6 mm | Structural elements like bangles and wire-wrapped rings |
| 20 - 22 | 0.7 - 0.9 mm | Ear wires, links, and lightweight components |
| 24 - 26 | 0.4 - 0.5 mm | Wire wrapping, bead embellishments |
We recommend keeping a range of these gauges in your toolkit so you’re ready for every type of project.
5. Improve Efficiency with a Beading Mat
If you’ve ever watched your beads roll off the table mid-project, this one’s for you. A beading mat is a soft, flocked surface that holds small parts in place while you work.
Especially helpful when working with seed beads or jump rings, beading mats reduce lost materials and make pickup easier. Some even come with printed grids for planning designs in advance.
You can buy ready-made mats or use alternatives like suede fabric, nonslip shelf liners, or even a clean rolled napkin to create a barrier along your workspace’s edge.
6. Use Ziplock Bags for Bead Storage
Beads have a way of disappearing if you’re not organised. Storing them in properly labelled ziplock bags by colour, size, or style keeps your workspace tidy and efficient.
Create your own inventory system for easy project planning. For example, categorise by gemstone (e.g., amethyst, turquoise), or bead type (e.g., glass, ceramic, seed). Small bags fit neatly in drawers or plastic stacking boxes, ideal for hobbyists working in compact UK flats or home studios.
Bonus tip: include a sticky label or slip of paper with the supplier name and price breakdown for future ordering and budgeting.
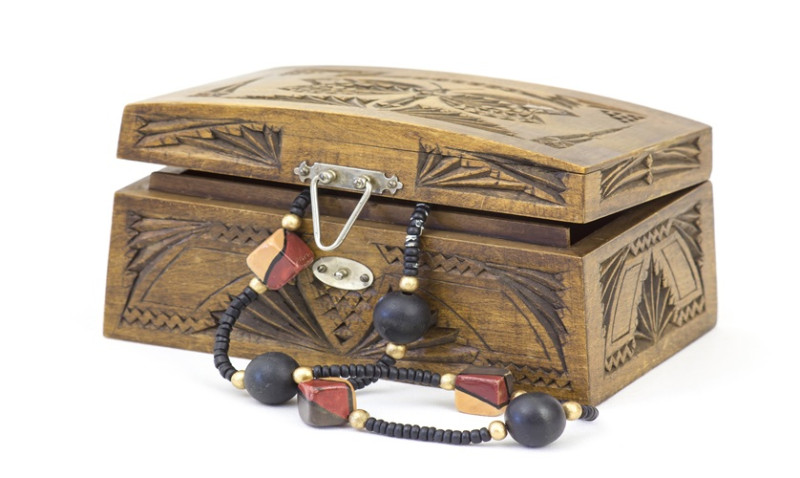
7. Save Broken Jewelry for Refurbishing
Don’t toss out broken or outdated jewelry—salvage the components! Clasps, chains, gemstone settings, or even statement pieces can be reused and given a new lease on life.
Set up a "salvage station" in your workspace with tweezers, mini screwdrivers, and compartments for sorted parts. Not only do you save money, but you also reduce environmental impact by upcycling materials.
Many UK crafters sell refurbished "vintage remakes" at craft fairs or online marketplaces like Etsy, making this a smart business move as well.
8. Use Toothpicks for Precision Gluing
Gluing in jewelry requires accuracy—no one wants visible spills on a delicate bracelet or pendant. A toothpick makes an ideal precision applicator for placing adhesives exactly where you need them.
Dip just the tip into your glue and apply small dots. This is perfect for securing cabochons, gluing knots in cords, or adhering crystals. For even more control, snip the end of the toothpick at an angle.
For high-end finishing, consider using UV glues that cure quickly under a UV lamp—common among resin jewelry makers.
9. Simplify Jump Ring Handling with Two Pliers
If you've ever struggled with opening a jump ring and maintaining its shape, try this technique: hold the ring with two pairs of flat- or chain-nose pliers on either side of the split. Gently twist one side toward you and the other away, rather than pulling them apart sideways.
This method maintains the ring’s circular shape for a professional finish and sturdy hold. It’s particularly vital when working on chain bracelets or layered necklaces, where symmetry and durability count.
Investing in ergonomic pliers with padded grips can reduce strain during longer crafting sessions—especially helpful for professional tradesmen or designers working full time.
10. Create a Moodboard for Inspiration
Designers and architects use visual references to hone aesthetic direction—and so should jewelry makers! A moodboard helps refine your brand style, spot trends, and visualise colour palettes or material combinations.
Use cork boards, pinboards, or digital platforms like Pinterest or Canva to collect images, textures, and samples. Include fabric swatches, sketches, product packaging, and inspirational imagery from architecture or nature.
Referencing your moodboard before starting a new piece ensures cohesiveness, especially if you’re building a collection. It’s also a great communication tool when working collaboratively or with clients.
Conclusion
Whether you’re selling artisan crafts in a weekend market or pursuing jewelry design as a career, these smart tips and hacks can dramatically improve your workflow and outcomes. Jewelry making combines technical skill, artistic flair, and practical problem-solving—a craft that keeps evolving with every project you create.
Ready to take your designs to the next level? Start implementing these hacks today and see the difference they make in your creative process. Happy making!

Trending articles
- How to Get More Jewellery Work in Your ... Feb 2026
-
 Tips and Tricks for Jewelry Business ...
Oct 2025
Tips and Tricks for Jewelry Business ...
Oct 2025
-
 3 Tips for Using a Jeweler's Saw ...
Oct 2025
3 Tips for Using a Jeweler's Saw ...
Oct 2025
-
 Mastering Jewellery Markets: Top Tips ...
Sep 2025
Mastering Jewellery Markets: Top Tips ...
Sep 2025
-
 Jewelry Making Tips: Control Your ...
Aug 2025
Jewelry Making Tips: Control Your ...
Aug 2025
-
 Jewelry Making Tips & Hacks You Have ...
Aug 2025
Jewelry Making Tips & Hacks You Have ...
Aug 2025

Related Articles